Brother LX2500 Sewing Machine Manual: A Comprehensive Guide
This guide provides detailed instructions for the Brother LX2500, covering setup, operation, maintenance, and troubleshooting. Downloadable PDF versions of the user guide and operation manual are readily available online, alongside quick reference guides for immediate assistance.
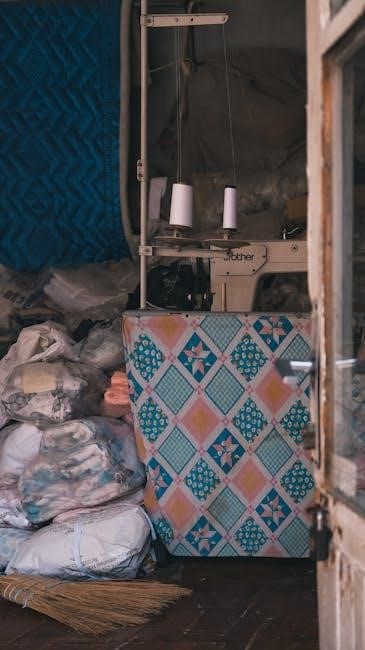
The Brother LX2500 is a popular, computerized sewing machine known for its user-friendly design and versatile functionality. This machine caters to both beginners and experienced sewists, offering a balance of affordability and performance. It’s designed for a wide range of sewing projects, from simple alterations to more complex garment construction and quilting.
Accessing the official Brother LX2500 manual is crucial for maximizing the machine’s potential. Manuals, often available as PDF downloads from resources like manualsonline, provide comprehensive guidance on every aspect of operation. These manuals detail everything from initial setup and threading procedures to stitch selection and advanced techniques; Understanding the machine’s features through the manual ensures safe and efficient operation, ultimately enhancing your sewing experience. Proper use, guided by the Brother documentation, extends the machine’s lifespan and maintains optimal performance.
Key Features and Specifications
The Brother LX2500 boasts 70 built-in stitches, including decorative and utility options, providing versatility for diverse projects. It features an automatic needle threader, simplifying a traditionally tedious task. A convenient one-step buttonhole function ensures consistently professional results. The machine offers adjustable sewing speed and stitch length/width controls for customized precision.
Key specifications include a free arm for sewing cuffs and sleeves, a drop-in bobbin system for easy loading, and an LCD screen for stitch selection. The Brother LX2500 manual details these features extensively. PDF versions of the manual outline the machine’s dimensions and weight, alongside safety precautions. Understanding these specifications, as detailed in the manual, is vital for optimal performance and safe operation. Referencing the manual ensures you utilize all capabilities.

Setting Up Your LX2500
Proper setup, guided by the Brother LX2500 manual, involves unboxing, initial inspection, and correct threading procedures for optimal performance and longevity.
Unboxing and Initial Inspection
Carefully unpack your Brother LX2500 sewing machine, ensuring all components are present. Refer to the included parts list within the manual to verify everything is accounted for – the machine itself, power cord, foot controller, various presser feet, bobbins, needle set, screwdriver, and potentially a seam ripper or brush.
Inspect the machine for any visible damage incurred during shipping. Check for dents, scratches, or loose parts. Examine the power cord and foot controller for fraying or damage. Ensure the bobbin case is securely in place and the handwheel moves freely.
Retain the packaging for potential future transport or warranty claims. Familiarize yourself with the machine’s exterior features, noting the locations of key controls like the power switch, stitch selection dial, and tension adjustments. A thorough initial inspection, guided by the Brother LX2500 manual, will prevent issues later.
Threading the Machine
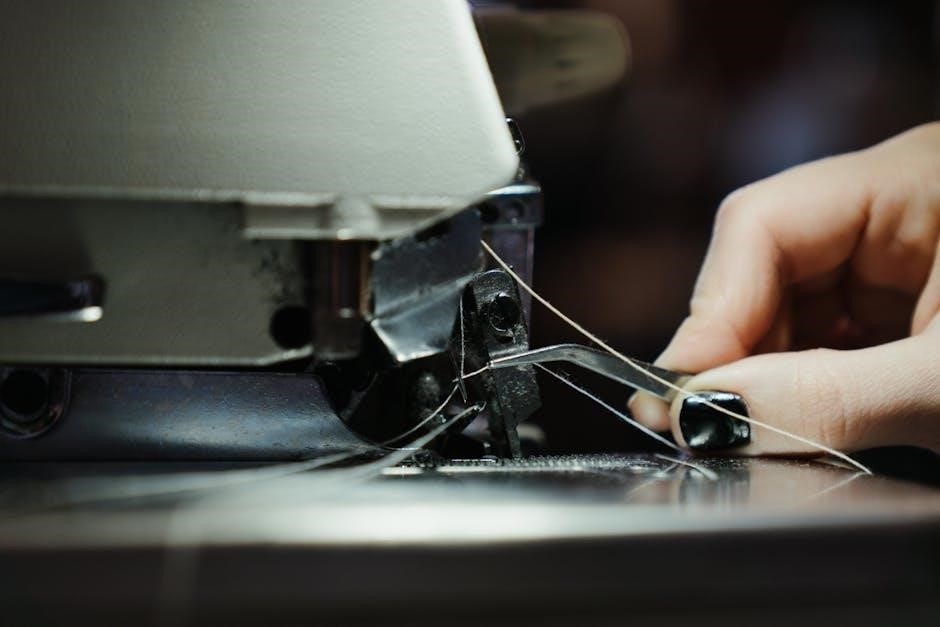
Proper threading is crucial for optimal sewing performance on your Brother LX2500. Begin by raising the presser foot; this disengages the tension discs, allowing the thread to seat correctly. Follow the numbered threading path diagram detailed in your Brother LX2500 manual – typically starting at the spool pin, guiding the thread through the tension discs, take-up lever, and finally, the needle clamp.
Ensure the thread is securely seated in each guide and the tension discs. Incorrect threading can lead to skipped stitches or thread breakage. Pay close attention to the take-up lever, as this is a common point of error. Always use the recommended thread type and weight for your fabric, as specified in the manual.
Double-check your threading before beginning to sew. A correctly threaded machine is the foundation for successful projects. Refer to the diagrams for both upper and lower threading for a smooth sewing experience.
Upper Threading Guide
Begin threading by placing your spool of thread on the spool pin, ensuring it rotates freely. Next, guide the thread down through the first thread guide, then between the tension discs – remember to have the presser foot raised! The thread must snap securely into the tension discs to ensure proper tension control.
Continue by bringing the thread up and around the take-up lever, a crucial step for consistent stitch formation. Then, thread through the remaining thread guides, following the numbered sequence illustrated in your Brother LX2500 manual. Finally, thread the needle from front to back (consult your manual for specific needle threading instructions).
Always double-check that the thread is properly seated in each guide and the needle is securely threaded. Incorrect upper threading is a frequent cause of sewing issues. A clear understanding of this process, as detailed in the manual, is essential for smooth operation.
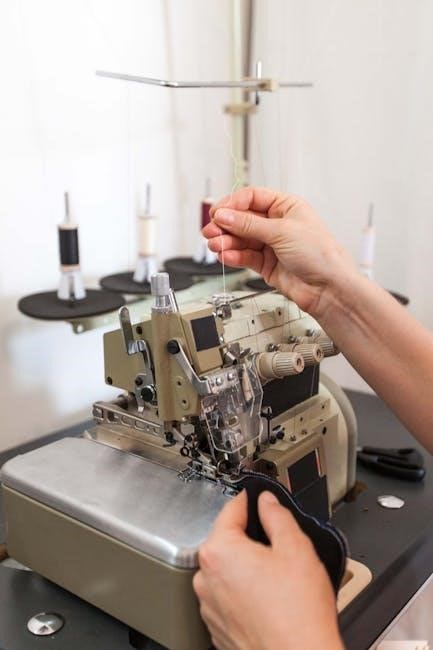
Bobbin Winding and Insertion
To wind the bobbin, place the thread spool on the spool pin and guide the thread through the designated bobbin winding tension disc. Then, thread the end of the thread through a hole in the bobbin, securing it by winding a few turns by hand. Engage the bobbin winding mechanism – typically by pushing the bobbin spindle to the right.
Press the foot pedal to begin winding; the machine will automatically stop when the bobbin is full. Once wound, carefully remove the bobbin and trim the thread. To insert the bobbin, open the bobbin cover and insert the bobbin into the bobbin case, ensuring it rotates in the correct direction (refer to your Brother LX2500 manual).
Finally, draw up the bobbin thread by holding the upper thread and gently turning the handwheel. Proper bobbin winding and insertion are vital for balanced stitches and preventing thread nests.
Powering On and Basic Operation
To power on your Brother LX2500, locate the power switch – usually found on the side or back of the machine – and flip it to the ‘On’ position. The machine will illuminate, indicating it’s ready for use. Ensure the foot controller is also connected to the designated port.
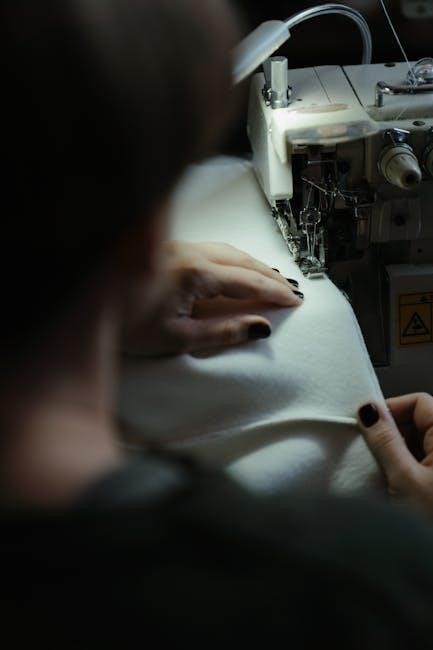
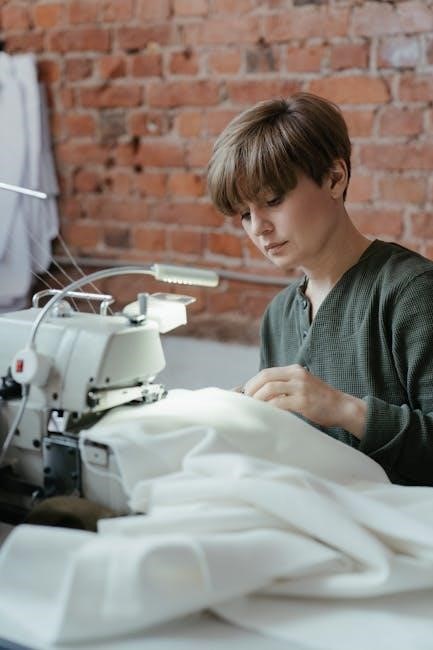
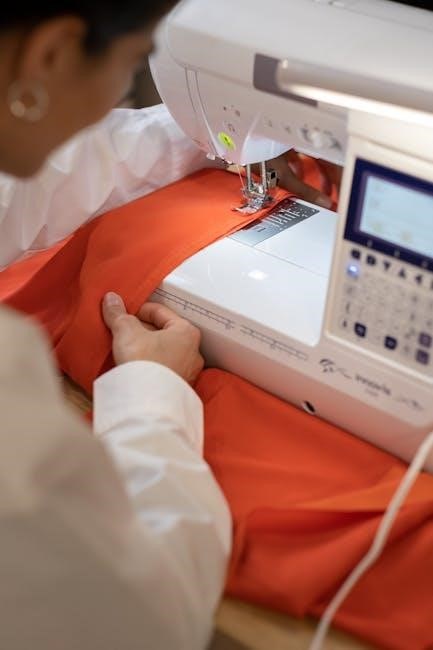
Basic operation involves placing fabric under the presser foot, lowering the foot, and gently pressing the foot pedal to begin sewing. The speed is controlled by the pressure applied to the pedal. Always hold the fabric gently, guiding it through the machine, but avoid pulling or pushing excessively.
Familiarize yourself with the handwheel; it allows for precise stitch placement and manual control. Refer to your Brother LX2500 manual for detailed diagrams and safety precautions before beginning any sewing project.
Stitch Selection and Adjustment
Explore diverse stitch patterns using the selector dial, then fine-tune stitch length and width for customized results. Test sewing on scrap fabric is crucial for optimal settings.
Understanding Stitch Patterns
The Brother LX2500 boasts a variety of stitch patterns, catering to diverse sewing projects. Straight stitches are fundamental for seams and general construction, while zigzag stitches offer flexibility for finishing raw edges and creating decorative elements. Buttonhole stitches are automated for consistent results, simplifying garment creation.
Beyond these basics, the machine includes options for overlock stitches, mimicking professional serger finishes, and decorative stitches to add unique flair to your creations. Refer to the manual’s stitch chart for visual representations and recommended uses for each pattern. Understanding the purpose of each stitch allows for informed project planning and achieving desired aesthetic and functional outcomes. Experimenting with different stitch patterns expands your sewing capabilities and unlocks creative potential. Proper stitch selection is key to a successful and durable finished product.
Adjusting Stitch Length and Width
The Brother LX2500 allows precise control over stitch length and width, crucial for adapting to different fabrics and project requirements. Stitch length determines the distance between stitches; shorter lengths are ideal for delicate fabrics and curves, while longer lengths suit heavier materials and straight seams. Adjust the length dial to fine-tune this setting, always testing on a scrap fabric first.
Stitch width controls the breadth of zigzag or decorative stitches. Wider settings create bolder patterns, while narrower settings offer subtle embellishments. Use the width dial to modify this parameter, again with preliminary testing. Incorrect settings can lead to puckering or thread breakage. Refer to the manual for recommended settings based on fabric type and stitch pattern. Mastering these adjustments ensures optimal stitch quality and project durability.
Test Sewing and Fabric Selection
Before embarking on your project, always test sew on a scrap of the chosen fabric. This crucial step verifies stitch settings and ensures compatibility. Select a fabric representative of your project material – consider weight, weave, and stretch. Begin with basic stitches like straight and zigzag, adjusting length and width as needed.

Observe the stitch formation for evenness, tension, and puckering. Experiment with different presser feet if applicable, as they impact fabric handling. The Brother LX2500 handles various fabrics, but proper needle and thread selection is vital. Refer to the manual’s fabric guide for recommendations. Successful test sewing prevents costly mistakes and guarantees a professional finish. Always prioritize practice before committing to the final project.

Maintenance and Troubleshooting
Regular cleaning and lubrication are vital for optimal performance. Address common issues like needle breakage or thread jamming using the manual’s detailed solutions and guidance.
Cleaning the Machine
Maintaining a clean sewing machine is crucial for smooth operation and longevity of your Brother LX2500. Dust, lint, and stray threads can accumulate within the machine, hindering performance and potentially causing malfunctions. Regular cleaning, ideally after each use or at least monthly with frequent sewing, prevents these issues.
Begin by powering off and unplugging the machine for safety. Use a soft brush – often included with the machine – to remove loose lint from the bobbin area, feed dogs, and around the needle plate. A small vacuum cleaner with a brush attachment can also be effective, but use caution to avoid damaging delicate parts. For stubborn lint, a lint brush or a slightly dampened (not wet!) cloth can be used.
Pay attention to the needle plate, ensuring it’s free of debris. Clean around the presser foot area and the upper tension discs. Avoid using harsh chemicals or abrasive cleaners, as these can damage the machine’s finish or internal components. A soft, dry cloth is generally sufficient for wiping down the exterior surfaces. Consistent cleaning will keep your Brother LX2500 running smoothly for years to come.
Oil Points and Lubrication
Proper lubrication is essential for the Brother LX2500’s internal mechanisms, ensuring smooth, quiet operation and preventing wear and tear. However, over-oiling can be detrimental, attracting lint and causing sticky buildup. Consult your LX2500 manual for specific oiling points, as improper lubrication can void the warranty.
Typically, key oiling points include the bobbin race, the hook assembly, and the presser foot bar. Use only sewing machine oil – never household oil or grease – applying it sparingly with an oiler or a very small brush. A single drop is often sufficient for each point. After oiling, operate the machine slowly for a few minutes to distribute the oil evenly.
Avoid oiling the tension discs or any areas that come into direct contact with fabric, as this can stain your projects. Regularly check for any signs of dryness or stiffness, and re-oil as needed. Following the manufacturer’s recommendations for lubrication will significantly extend the life of your Brother LX2500.
Common Problems and Solutions
Encountering issues with your Brother LX2500 is common, but many are easily resolved. Thread bunching often indicates incorrect threading, improper tension, or a poorly wound bobbin. Re-thread the machine carefully, adjusting tension as needed, and rewind the bobbin evenly.
Skipped stitches can stem from a dull or incorrect needle, incorrect thread type for the fabric, or timing issues. Replace the needle, select appropriate thread, and if the problem persists, consult a qualified technician. Needle breakage frequently results from forcing the fabric or using the wrong needle size.
Thread jamming is often caused by lint buildup. Clean the bobbin area and feed dogs thoroughly. Refer to your manual for detailed troubleshooting steps and diagrams. Always unplug the machine before attempting any repairs or cleaning.
Needle Breakage Issues
Frequent needle breakage on your Brother LX2500 often signals a few key problems. Forcing the fabric through the machine is a primary cause; never push or pull the material. Ensure you’re using the correct needle type and size for your fabric weight – heavier fabrics require stronger needles. A bent or damaged needle will also break easily, so always inspect it before starting a project.
Incorrect threading can create excessive tension, leading to breakage. Re-thread the machine following the manual’s diagrams precisely. Improper timing, though less common, can also cause this issue; a technician may be needed for timing adjustments.
Check the needle plate for any obstructions. Always use a new needle for each project or after several hours of sewing. Avoid sewing over pins, as this is a common cause of needle damage.
Thread Jamming Troubleshooting
Thread jamming on the Brother LX2500 is a common issue, often stemming from improper threading. Carefully re-thread both the upper and lower threads, ensuring the presser foot is raised during upper threading. Check the bobbin is correctly inserted and wound evenly – a loose or uneven bobbin can cause tangles.
Lint and debris accumulation within the machine is another frequent culprit. Regularly clean the bobbin area, feed dogs, and thread paths using a small brush. Incorrect tension settings can also lead to jamming; experiment with slight adjustments to both upper and lower tension.
Avoid using low-quality thread, as it tends to break and tangle more easily. Slow down your sewing speed, especially when working with delicate fabrics or complex stitches. If jamming persists, consult the manual’s diagrams for detailed troubleshooting steps.
Advanced Techniques
Explore free motion quilting and utilize optional presser feet to unlock the Brother LX2500’s full potential. Embroidery capabilities may exist with compatible accessories.
Using Optional Presser Feet
The Brother LX2500 truly expands its capabilities when paired with a variety of optional presser feet. These specialized feet allow for diverse sewing projects beyond standard stitching. A zipper foot facilitates precise zipper insertion, ensuring neat and professional results. The buttonhole foot automates buttonhole creation, delivering consistent size and shape.
For decorative stitching, a decorative foot enhances the visual appeal of your projects. A blind hem foot creates nearly invisible hems, ideal for delicate fabrics. Quilters will benefit from a quilting foot, designed for even stitch distribution and fabric handling. Furthermore, a walking foot is invaluable for quilting and sewing multiple layers, preventing fabric shifting.
Refer to your LX2500 manual for a complete list of compatible presser feet and detailed instructions on their installation and usage. Utilizing the correct foot significantly improves stitch quality and project outcomes, unlocking creative possibilities.
Free Motion Quilting
Free motion quilting with the Brother LX2500 unlocks a world of creative expression, allowing you to draw designs with thread. To begin, attach the free motion quilting foot (also known as a darning foot), which allows the fabric to move freely beneath the needle. Lower the feed dogs – this is crucial, as they would otherwise control fabric movement.
Set the stitch length to zero and gently lower the presser foot. Begin slowly, guiding the fabric with both hands, creating your desired pattern. Consistent speed and even pressure are key to achieving smooth lines. Practice on scrap fabric to develop muscle memory and control.
Consult your LX2500 manual for specific settings and recommended techniques. Experiment with different threads and batting to achieve varied textures and effects. Free motion quilting requires practice, but the results are uniquely personalized and beautiful.
Embroidery Capabilities (if applicable)
The Brother LX2500 is primarily a sewing machine and does not possess built-in embroidery capabilities. It lacks the necessary hardware, such as an embroidery unit or a dedicated embroidery hoop, to directly create embroidered designs. However, you can achieve decorative effects resembling embroidery by utilizing various decorative stitches and techniques available on the machine.
Explore the stitch patterns in your LX2500 manual to discover options that mimic embroidery, like satin stitch or decorative fill stitches. These can be used to embellish fabric projects with creative designs. Consider using stabilizer backing to support the fabric and prevent puckering when using denser stitch patterns.
For true embroidery, you would need a Brother machine specifically designed for embroidery, such as those in the PE or PR series. These machines offer a wider range of features and capabilities for creating intricate embroidered designs.
Resources and Support
Access the LX2500 manual in PDF format via the Brother Support website. Online forums and communities offer valuable assistance and shared experiences with fellow users.
Downloading the LX2500 Manual (PDF)
Obtaining the digital version of your Brother LX2500 sewing machine manual is straightforward. Begin by navigating to the official Brother downloads website. Locate your specific model – the LX2500 – and then select the “Downloads” section. From there, choose your operating system to filter compatible files.
You’ll find a variety of resources, including the comprehensive user manual in PDF format, quick reference guides, and potentially other helpful documentation. Agree to the End User License Agreement (EULA) when prompted to initiate the download. The downloaded file will typically be a .dmg file (on macOS) or an executable file for Windows.
Once downloaded, open the file and follow the on-screen instructions to install or extract the PDF manual. Save the manual to a convenient location on your computer for easy access whenever you need assistance with your Brother LX2500 sewing machine. Ensure a stable internet connection throughout the download process.
Brother Support Website
The official Brother support website serves as a central hub for all your LX2500 sewing machine needs. Here, you’ll discover a wealth of resources beyond just the downloadable manual. This includes frequently asked questions (FAQs), troubleshooting guides addressing common issues, and helpful video tutorials demonstrating various machine functions and maintenance procedures.
Brother Canada’s website specifically offers dedicated support for customers in Canada, providing localized assistance and resources. You can search for solutions to specific problems, browse articles related to your model, or contact Brother’s customer support team directly via phone, email, or live chat.
The website also features a community forum where users can connect, share tips, and ask questions. Registering an account allows you to track your support requests and access personalized assistance. Genuine Brother supplies are also highlighted, emphasizing their importance for optimal machine performance and warranty validity.
Online Forums and Communities
Numerous online forums and communities are dedicated to Brother sewing machines, including the LX2500. These platforms offer a valuable space to connect with fellow enthusiasts, share experiences, and seek advice from experienced users. ManualsOnline is a resource where you can find and download manuals, including those for the LX2500, often in various formats like PDF and JP2.
These communities are excellent for troubleshooting unique problems not covered in the official manual, discovering creative techniques, and learning about optional presser feet or accessories. Users frequently share tips on maintenance, fabric selection, and resolving common issues like needle breakage or thread jamming.
Searching online for “Brother LX2500 forum” or “Brother sewing machine community” will reveal several active groups. Remember to exercise caution and verify information shared by other users before implementing it on your machine.