
Honeywell TH8321U1006 Installation Manual PDF: A Comprehensive Plan
Accessing the Honeywell TH8321U1006 installation manual in PDF format is crucial for a smooth setup․ Numerous online resources‚ like Unilogcorp‚ offer downloadable instructions․
Honeywell provides comprehensive manuals‚ including those for the VisionPRO 8000 series‚ detailing wiring and programming․ Customer care support is readily available via their website․
These manuals cover everything from basic installation to advanced features like dehumidification control and automatic changeover‚ ensuring a successful thermostat experience․
The Honeywell TH8321U1006 is a premier‚ programmable thermostat designed for universal application‚ offering both comfort and energy efficiency․ As part of the VisionPRO 8000 series‚ it boasts a user-friendly interface and advanced features‚ including dehumidification control and automatic/manual changeover capabilities․ This thermostat is a significant upgrade for homes seeking precise temperature regulation and optimized energy consumption․
Understanding the TH8321U1006 requires accessing its detailed installation manual‚ readily available in PDF format online․ These manuals‚ often found on sites like Unilogcorp‚ provide step-by-step guidance for installation‚ wiring‚ and programming․ The thermostat’s compatibility extends to various heating and cooling systems‚ making it a versatile choice for many homeowners․
Key features include a clear touchscreen display‚ programmable schedules for heating and cooling‚ and the ability to manage dehumidification independently․ The Honeywell Home trademark signifies quality and reliability‚ backed by comprehensive customer support resources․ Proper installation‚ guided by the official PDF manual‚ is essential to unlock the full potential of this sophisticated thermostat and ensure years of reliable performance․
Understanding the VisionPRO 8000 Series

The Honeywell VisionPRO 8000 series represents a leap forward in home comfort technology‚ offering a range of programmable thermostats designed for optimal performance and user experience․ The TH8321U1006 is a flagship model within this series‚ inheriting its advanced features and robust build quality․ These thermostats are engineered for compatibility with a wide array of heating and cooling systems‚ providing versatile control over your home environment․
Central to the VisionPRO 8000 series is its emphasis on intuitive programming and energy savings․ The series incorporates features like customizable schedules‚ remote access capabilities (with compatible accessories)‚ and precise temperature control․ Accessing the official installation manual in PDF format is crucial for understanding the full potential of these features‚ as detailed on resources like Unilogcorp․
Honeywell prioritizes ease of installation and use within the VisionPRO 8000 line․ The series’ thermostats are designed to simplify home climate management‚ offering a balance of functionality and convenience․ The trademark Honeywell Home assures quality and reliability‚ backed by extensive support documentation and customer care services‚ all accessible through the provided manuals․
Where to Find the Official PDF Manual
Locating the official Honeywell TH8321U1006 installation manual in PDF format is paramount for a successful and safe installation process․ Several reliable online sources offer direct downloads of this essential document․ A primary resource is Unilogcorp‚ which hosts the PDF for easy access․ Additionally‚ Honeywell’s official website‚ through the Honeywell Home portal (yourhome․honeywell․com)‚ provides access to a comprehensive library of manuals and support materials․
The Manual Library is another valuable repository‚ often indexing older and current Honeywell product documentation․ Searching directly for “Honeywell TH8321U1006 manual PDF” on major search engines will also yield relevant results‚ though verifying the source’s legitimacy is crucial․ Always prioritize downloads from official Honeywell channels or authorized distributors to ensure you have the most accurate and up-to-date information․
Remember to save a copy of the PDF to your device for offline access during installation․ Having the manual readily available will streamline the process and help troubleshoot any potential issues that may arise‚ ensuring a properly configured and efficient Honeywell VisionPRO 8000 thermostat system․
Safety Precautions Before Installation
Prior to commencing the installation of your Honeywell TH8321U1006 thermostat‚ adhering to strict safety precautions is absolutely essential․ Always disconnect power to your heating and cooling system at the breaker box to prevent electrical shock․ Confirm the power is off with a non-contact voltage tester before handling any wiring․
Exercise caution when working with wiring‚ as incorrect connections can damage the thermostat or your HVAC system․ If you are uncomfortable working with electrical wiring‚ it is strongly recommended to consult a qualified HVAC technician․ Read and thoroughly understand the installation manual before beginning‚ paying close attention to all warnings and cautions․
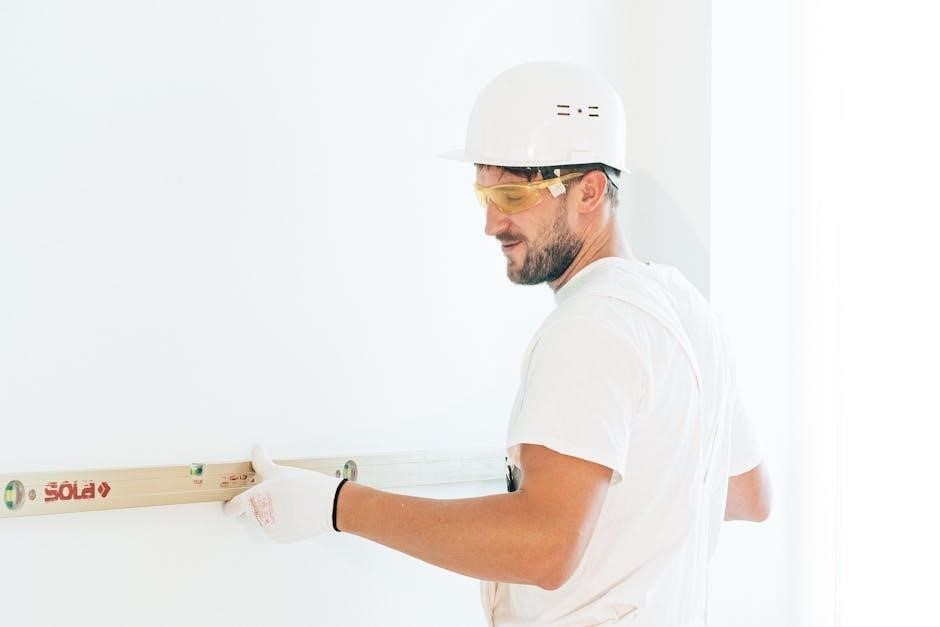
Be mindful of potential hazards such as sharp edges within the wall cavity or around existing wiring․ Wear appropriate safety glasses to protect your eyes․ Honeywell explicitly states the importance of reading and saving the instructions‚ emphasizing safety as a primary concern․ Ignoring these precautions could result in personal injury or damage to your equipment․
Tools Required for Installation
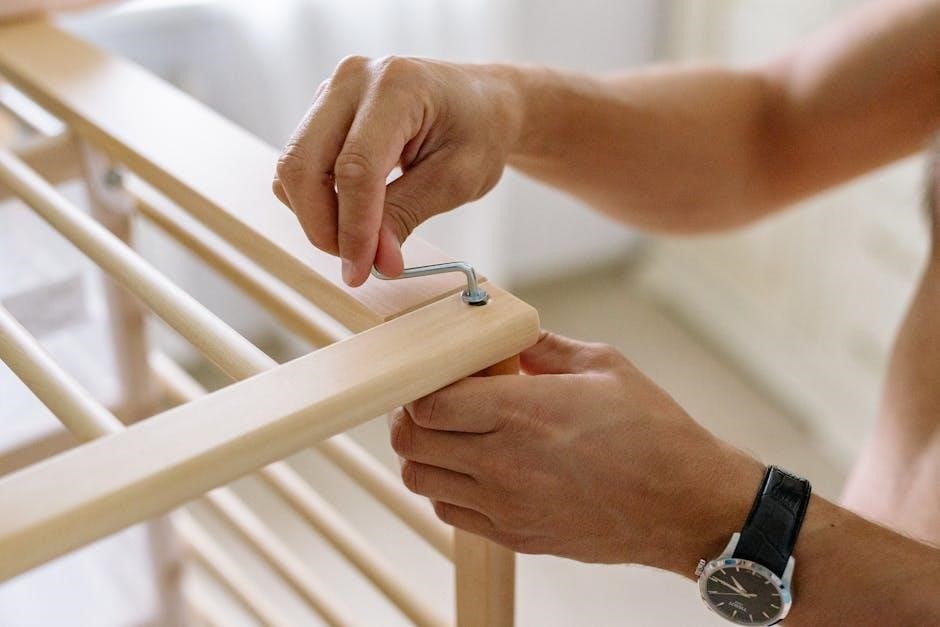
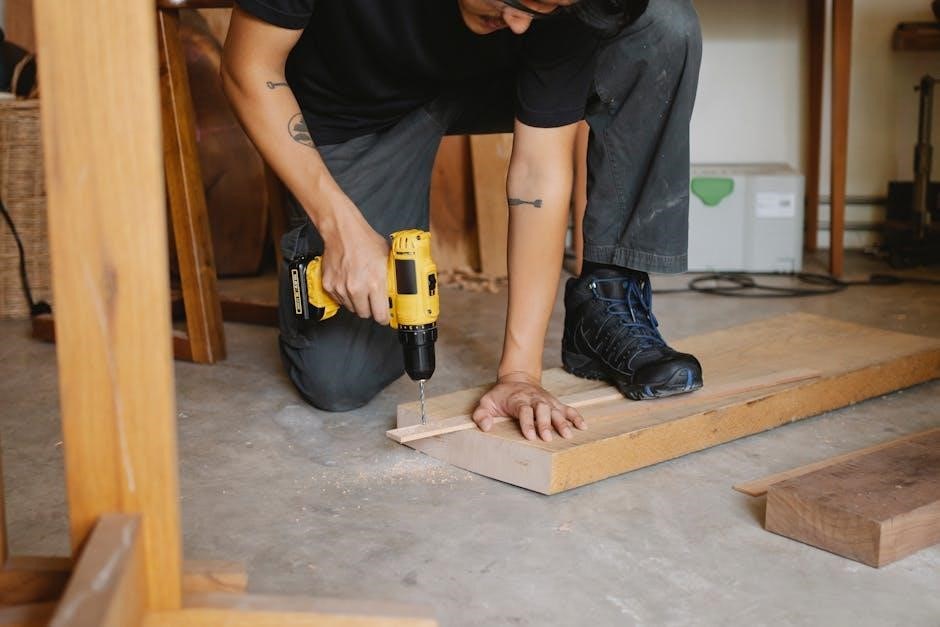
Successfully installing your Honeywell TH8321U1006 thermostat necessitates having the correct tools readily available․ A Phillips head screwdriver is fundamental for removing the old thermostat and securing the new baseplate․ A flathead screwdriver may also be needed for certain wiring connections․
A non-contact voltage tester is crucial for verifying that power is completely disconnected to the HVAC system before handling any wires – a vital safety step․ Wire strippers are essential for preparing the wires for connection to the thermostat terminals‚ ensuring a secure and reliable connection․ Pliers can be helpful for bending or manipulating wires as needed․
A level will ensure the thermostat base is mounted straight‚ providing a professional and aesthetically pleasing installation․ A pencil is useful for marking screw holes and wiring locations․ Finally‚ having a digital multimeter can be beneficial for troubleshooting any wiring issues‚ though not strictly required for a standard installation․ Referencing the installation manual will confirm any specialized tools needed for your specific system․
Thermostat Compatibility Check
Before embarking on the installation of your Honeywell TH8321U1006‚ a thorough compatibility check is paramount․ This thermostat is designed for conventional heating and cooling systems‚ but certain configurations may require additional considerations․ It’s crucial to determine your existing system’s voltage – most residential systems operate on 24V‚ which the TH8321U1006 supports․
Systems with line voltage (120V or 240V) thermostats are not compatible and require a different solution․ Verify if you have a heat pump system‚ as specific wiring configurations are necessary for proper operation․ The TH8321U1006 supports heat pumps‚ but correct wiring is essential․
If you have a millivolt system‚ commonly found in fireplaces‚ this thermostat is generally not compatible․ Carefully examine your existing thermostat’s wiring; if it has fewer than five wires‚ compatibility may be an issue․ Consulting the Honeywell installation manual and potentially a qualified HVAC technician will confirm compatibility and prevent installation problems․
Wiring Basics: Identifying Your System
Understanding your existing HVAC system’s wiring is fundamental before installing the Honeywell TH8321U1006․ Most systems utilize a color-coded wiring scheme‚ but variations exist․ Common wires include Red (power)‚ Green (fan)‚ White (heat)‚ Yellow (cool)‚ and a common wire (usually Blue or Black)․
Carefully label each wire as you disconnect it from your old thermostat – this is critical for accurate reconnection․ If you encounter wires not listed above‚ consult the Honeywell installation manual or a qualified HVAC professional․ Identifying whether you have a conventional system (furnace and air conditioner) or a heat pump is crucial․
Heat pump systems often have additional wires for reversing valve control․ The TH8321U1006 supports various system types‚ but correct wiring is paramount․ Take detailed pictures of your existing wiring configuration before disconnecting anything․ Incorrect wiring can damage your HVAC equipment or the thermostat itself․ Prioritize safety and accuracy throughout the wiring process․
Understanding Heat and Cool Wiring
The Honeywell TH8321U1006 utilizes standard heat and cool wiring configurations․ Typically‚ the Red wire provides 24V power‚ while the Yellow wire activates the cooling system․ The White wire controls the heating function․ A common wire (usually Blue or Black) completes the circuit‚ providing a return path for the 24V signal․
Proper identification of these wires is essential․ Incorrect connections can lead to the system not functioning correctly or potential damage․ The installation manual’s wiring diagrams are invaluable resources for verifying connections․ If your system has multiple stages of heating or cooling‚ you’ll encounter additional wires (e․g․‚ Yellow 2 for second-stage cooling)․
Ensure the wires are securely connected to the corresponding terminals on the thermostat base․ Loose connections can cause intermittent operation․ Double-check all wiring against the manual before powering on the system․ Remember‚ safety first – turn off power to the HVAC system at the breaker before working with any wiring․
Dehumidification Control Wiring
The Honeywell TH8321U1006 offers integrated dehumidification control‚ a feature requiring specific wiring․ Typically‚ the dehumidification wire is designated as ‘Dh’ or ‘D’․ This wire activates an external dehumidifier when humidity levels exceed the setpoint‚ independent of the cooling system․ The manual details the correct terminal for this connection on the thermostat base․
Wiring for dehumidification can vary depending on the dehumidifier’s control method․ Some dehumidifiers require a simple on/off signal‚ while others utilize more sophisticated control schemes․ Consult both the thermostat manual and the dehumidifier’s documentation for precise wiring instructions․ Incorrect wiring can prevent the dehumidification function from operating correctly․
Properly configured dehumidification enhances indoor comfort by maintaining optimal humidity levels․ Ensure the ‘Dh’ wire is securely connected and that the dehumidifier is compatible with the thermostat’s control signal․ Refer to the Honeywell Home trademark guidelines for proper usage and safety precautions during installation․
Step-by-Step Installation Guide
Begin by carefully reviewing the Honeywell TH8321U1006 installation manual PDF․ Safety is paramount; disconnect power to your HVAC system at the breaker before commencing․ The first step involves removing your existing thermostat‚ carefully labeling each wire as you disconnect it․ This prevents confusion during the new thermostat’s wiring․
Next‚ mount the thermostat base to the wall using the provided screws‚ ensuring it’s level․ Connect the wires to the corresponding terminals on the new thermostat base‚ referencing your wire labels and the wiring diagram in the manual․ Double-check all connections for security․
Once wired‚ attach the thermostat display to the base․ Restore power to your HVAC system and follow the on-screen prompts for initial setup‚ including setting the date‚ time‚ and system type․ Program your desired heating and cooling schedules for optimal comfort and energy efficiency․ Consult Honeywell Customer Care if issues arise during installation․
Removing Your Old Thermostat
Before beginning‚ absolutely disconnect power to your HVAC system at the circuit breaker․ This is a critical safety precaution․ Carefully remove the cover of your existing thermostat‚ often by gently prying it off or releasing a latch․ Consult the Honeywell TH8321U1006 installation manual PDF for specific guidance if needed․
Take a clear photograph of the existing wiring before disconnecting anything․ This serves as a vital reference during the installation of your new thermostat․ Systematically disconnect each wire‚ immediately labeling it with the corresponding terminal designation․ Use the provided wire labels or masking tape and a pen․
Loosen the screws holding the old thermostat base to the wall and carefully remove it․ Clean the wall surface to prepare for mounting the new thermostat base․ Ensure no wires are pinched or damaged during removal․ Proper labeling is key to a smooth transition and avoids miswiring․
Connecting the Wires to the TH8321U1006
Referring to the photograph and labels created during old thermostat removal‚ carefully connect each wire to the corresponding terminal on the TH8321U1006 base․ The Honeywell TH8321U1006 installation manual PDF provides a detailed wiring diagram – use it diligently․ Ensure each wire is securely inserted into the terminal; a loose connection can cause malfunctions․
Common terminals include Rh (hot)‚ Rc (cooling)‚ W (heat)‚ Y (cool)‚ G (fan)‚ and C (common)․ The ‘C’ wire is often crucial for powering the thermostat; if absent‚ a ‘C-wire adapter’ might be necessary․ Double-check all connections against your wiring diagram and the manual․
Gently tug on each wire to confirm it’s firmly held in place․ Avoid stripping the wire insulation further․ If you encounter difficulty‚ revisit the manual or consult Honeywell Customer Care․ Incorrect wiring can damage your HVAC system‚ so precision is paramount․
Mounting the Thermostat Base
Before mounting‚ ensure the wires are neatly tucked into the wall opening‚ avoiding any pinching or strain․ Position the TH8321U1006 base plate against the wall‚ aligning it with the previously drilled mounting holes․ The Honeywell TH8321U1006 installation manual PDF illustrates proper base plate alignment․
Utilize the provided screws to secure the base plate to the wall․ Avoid over-tightening‚ as this could damage the plate or the wall․ Ensure the base is level for a professional appearance and proper thermostat function․ A level base ensures accurate temperature readings․

Double-check that all wires remain securely connected and are not obstructed by the base plate․ The base should sit flush against the wall․ Refer to the manual for specific mounting instructions related to different wall types․ Proper mounting is crucial for long-term stability and reliable operation․
Powering On and Initial Setup
After securely mounting the thermostat base and connecting the wires‚ it’s time to power on the TH8321U1006․ The Honeywell TH8321U1006 installation manual PDF details the initial power-up sequence․ Typically‚ the thermostat will automatically power on once it detects a consistent power supply from the wiring․
Upon powering on‚ the thermostat will initiate a self-test and display a welcome screen․ Follow the on-screen prompts to begin the initial setup process․ This usually involves selecting your preferred language‚ date format‚ and time zone․ The manual provides step-by-step guidance through this process․
The initial setup also includes a system check‚ where the thermostat verifies the correct wiring configuration․ Pay close attention to any error messages displayed during this phase‚ as they indicate potential wiring issues․ Refer to the troubleshooting section of the PDF for assistance․ Correct setup ensures optimal performance․
Setting the Date and Time
Accurate date and time settings are fundamental for proper thermostat operation and scheduling․ The Honeywell TH8321U1006 installation manual PDF provides clear instructions on how to configure these settings․ After powering on‚ navigate to the settings menu using the touchscreen interface․
Within the settings menu‚ locate the “Date and Time” option․ You’ll typically be presented with separate fields for setting the month‚ day‚ and year․ Similarly‚ you’ll find options to adjust the hour and minute․ Ensure you select the correct AM or PM designation for accurate timekeeping․
The manual emphasizes the importance of verifying the time zone setting․ Selecting the correct time zone ensures that the thermostat accurately reflects local time‚ especially crucial for programmed schedules․ Some models may automatically synchronize with network time if connected to Wi-Fi․ Double-check all entries before saving‚ as incorrect settings can disrupt scheduling․
Programming Your Heating Schedule
The Honeywell TH8321U1006 installation manual PDF details a flexible heating schedule programming process․ Access the scheduling function through the thermostat’s main menu‚ typically labeled “Schedule” or “Programming”․ The interface allows for customized settings for each day of the week․
You can define multiple periods within each day‚ each with a specific target temperature․ Common periods include “Wake‚” “Leave‚” “Return‚” and “Sleep․” For each period‚ set the desired temperature and the time it begins․ The thermostat will automatically adjust the heating system to maintain that temperature during the designated timeframe․
The manual highlights the option to copy schedules from one day to another‚ simplifying the setup process․ Consider your daily routines when creating the schedule – lower temperatures during unoccupied periods save energy․ Review the programmed schedule carefully to ensure it aligns with your comfort preferences and energy-saving goals․ Save the schedule once completed․
Programming Your Cooling Schedule
The Honeywell TH8321U1006 installation manual PDF provides detailed instructions for programming a customized cooling schedule․ Similar to heating‚ access the cooling schedule through the thermostat’s menu‚ often labeled “Cool Schedule” or within the main “Schedule” section․ The interface mirrors the heating schedule setup‚ allowing for day-specific configurations․
Define cooling periods – “Wake‚” “Leave‚” “Return‚” and “Sleep” – and assign target temperatures for each․ Lower temperatures during occupied hours provide comfort‚ while higher temperatures during unoccupied periods conserve energy․ The manual emphasizes setting temperatures that balance comfort and efficiency․
Utilize the copy function to replicate schedules across multiple days‚ streamlining the process․ Carefully review the programmed cooling schedule to ensure it aligns with your preferences and energy-saving objectives․ Consider factors like humidity and outdoor temperature when setting cooling temperatures․ Save the schedule after making all adjustments․ The manual also details temporary overrides for immediate comfort adjustments․
Using the Dehumidification Control
The Honeywell TH8321U1006 installation manual PDF details the dehumidification control feature‚ available on the Premier White Universal Programmable Thermostat․ This function allows independent operation of the cooling system for humidity reduction‚ even when cooling isn’t required․ Access the dehumidification settings through the thermostat’s menu‚ typically found under “System” or “Fan” options․
Enable dehumidification mode to activate the fan‚ circulating air and removing moisture․ The manual explains that the cooling system will operate as needed to maintain the set humidity level․ Adjust the desired humidity percentage to your comfort level; lower percentages equate to drier air․
The manual clarifies that dehumidification can be scheduled‚ allowing automatic humidity control during specific times․ Monitor indoor humidity levels to optimize settings․ Proper wiring‚ as outlined in the installation guide‚ is crucial for this feature to function correctly․ Remember to consult the PDF for detailed wiring diagrams and troubleshooting tips related to dehumidification control․
Understanding Automatic and Manual Changeover
The Honeywell TH8321U1006 installation manual PDF thoroughly explains the difference between automatic and manual changeover modes․ Changeover refers to the thermostat’s ability to switch between heating and cooling․ Automatic changeover allows the thermostat to intelligently determine when to switch based on indoor temperature and setpoints‚ offering convenience and energy efficiency․
Manual changeover‚ indicated by a “0” setting in the manual‚ requires the user to manually select heating or cooling mode․ This provides greater control but demands active monitoring of the weather and indoor comfort levels․ The PDF details how to access these settings within the thermostat’s menu system․
Honeywell emphasizes that proper wiring is essential for correct changeover operation․ The manual includes detailed wiring diagrams for various system configurations․ Understanding your system’s wiring is crucial before selecting a changeover mode․ By utilizing the information within the PDF‚ users can optimize their comfort and energy savings based on their specific needs and preferences․
Troubleshooting Common Installation Issues
The Honeywell TH8321U1006 installation manual PDF dedicates a section to resolving typical issues encountered during setup․ A frequent problem is incorrect wiring‚ leading to the system not responding or operating erratically․ The PDF stresses verifying wire connections against the provided diagrams‚ ensuring each wire is securely fastened to the correct terminal․
Another common issue is a lack of power to the thermostat․ The manual guides users through checking the power supply‚ including verifying the C-wire connection‚ which is often essential for consistent operation․ If the display is blank or unresponsive‚ the PDF suggests checking the breaker and ensuring proper voltage․
Furthermore‚ the Honeywell document addresses programming difficulties‚ offering step-by-step instructions and troubleshooting tips․ It also highlights the importance of resetting the thermostat to factory defaults if encountering persistent problems․ Accessing Honeywell Customer Care‚ as detailed in the PDF‚ provides additional support for complex issues․
Accessing Honeywell Customer Care
The Honeywell TH8321U1006 installation manual PDF prominently features resources for accessing their dedicated Customer Care team․ Recognizing that installation and programming can present challenges‚ Honeywell provides multiple avenues for support‚ ensuring users aren’t left struggling with their new thermostat․
The PDF directs users to the official Honeywell Home website – http://yourhome․honeywell․com – as a primary source of assistance․ This online portal offers a wealth of self-help resources‚ including FAQs‚ troubleshooting guides‚ and downloadable documentation․ Beyond the website‚ Honeywell offers direct phone support‚ allowing users to speak with a knowledgeable representative․
The manual emphasizes that contacting Customer Care is beneficial for complex wiring issues‚ programming questions‚ or any situation where the PDF instructions aren’t sufficient․ Honeywell’s commitment to customer satisfaction is evident in their readily available support channels‚ designed to facilitate a seamless thermostat experience․
Understanding the Honeywell Home Trademark

The Honeywell TH8321U1006 installation manual PDF includes a specific section addressing the “Honeywell Home” trademark․ This isn’t merely a legal formality; it clarifies the relationship between Honeywell International Inc․ and the branding associated with their smart home products‚ including this thermostat․
The PDF explicitly states that the “Honeywell Home” trademark is utilized under license․ This means Honeywell International Inc․ doesn’t solely own the trademark outright‚ but has been granted permission to use it by the actual trademark holder․ This licensing agreement ensures consistent branding and quality control across a range of smart home devices․
Understanding this detail is important for consumers‚ as it highlights a collaborative effort in bringing these technologies to market․ The manual’s inclusion of this information demonstrates Honeywell’s transparency and adherence to legal standards regarding intellectual property․ It assures users they are interacting with a legitimately branded and supported product․
Copyright Information and Legal Disclaimers
The Honeywell TH8321U1006 installation manual PDF prominently features copyright information‚ asserting that all rights are reserved by Honeywell International Inc․ dating back to 2004․ This declaration protects the intellectual property contained within the manual‚ including text‚ diagrams‚ and installation instructions․
Furthermore‚ the PDF includes crucial legal disclaimers․ One key disclaimer states that by utilizing the provided Honeywell literature – in this case‚ the installation manual – the user implicitly agrees that Honeywell will not be held liable for any damages or issues arising from improper installation or use of the thermostat․
This disclaimer underscores the importance of carefully following the instructions and seeking professional assistance if needed․ The manual also likely contains limitations of liability regarding the accuracy of information and potential changes to product specifications․ These legal safeguards are standard practice‚ protecting Honeywell while emphasizing user responsibility․ It’s a vital section for understanding the terms of use;
Resources for Additional Support
Beyond the Honeywell TH8321U1006 installation manual PDF‚ several resources offer supplementary support for users․ Honeywell’s official website‚ yourhome․honeywell․com‚ serves as a primary hub for assistance‚ providing FAQs‚ troubleshooting guides‚ and contact information for Customer Care․
Online forums and communities dedicated to home automation and HVAC systems are invaluable․ Platforms like Reddit and dedicated HVAC forums often host discussions where users share experiences‚ solutions‚ and wiring diagrams related to the TH8321U1006․ The Manual Library also provides access to a broader range of Honeywell manuals․
Additionally‚ Unilogcorp‚ where the PDF manual is hosted‚ may offer related resources or links․ For complex installations or wiring scenarios‚ consulting a qualified HVAC technician is highly recommended․ These combined resources ensure users have ample support throughout the installation and operation of their Honeywell thermostat‚ maximizing its functionality and longevity․